thisismyrobot
Littered with robots and Python codePic: Interested parties #cats
Pic: Low tech motor calibration #sumo
QR tracking using the Parrot Jumping Sumo camera

|
| Nested QR code with the Sumo's wheels against the monitor. |
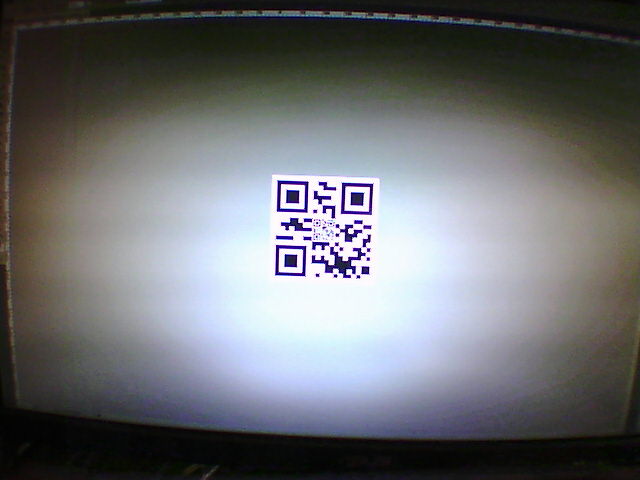
|
| Same QR code image at an approx range of 30cm from the monitor. |
This code successfully recognises the two QR codes in these test images, though it takes about half a second to do so.
Next up, a docking control loop!
Pic: Drone life #alwayscharging #sumo
Capturing photos from a Parrot Jumping Sumo using Python
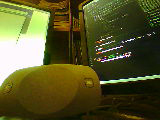 Success!
After a slightly faulty first effort I have successfully taken a photo from my Jumping Sumo using Python's telnetlib module.
In the following code the built-in yavta tool is used to push (and buffer) a snapshot from the camera to /dev/stdout and then base64 is used to push an encoded version of /dev/stdout back to the Python client where it is decoded and saved to disk. As before I have to kill the dragon-prog process to gain access to the camera.
There are a number of alternative image capture routes using yavta , e.g. saving the file to the Sumo's flash or a ram disk and using FTP to recover it. This one seems to be the quickest (and simplest) for now and will suffice for the purposes of identifying and homing in on the charging station.
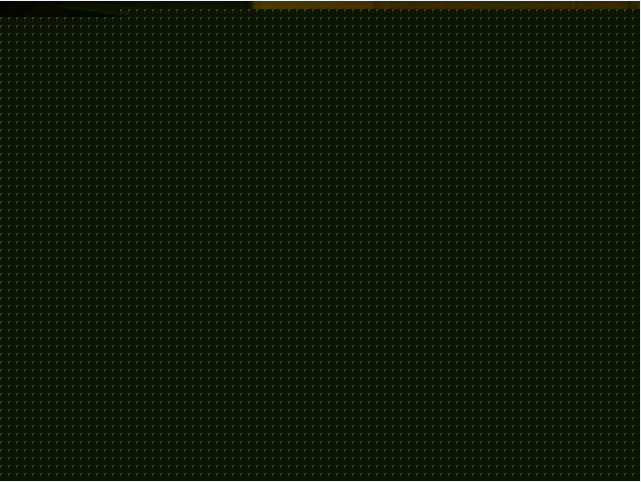
(Almost) taking snapshots over telnet on a Parrot Jumping Sumo
To do this I'm going to need to access the video feed and before I go down the path of setting up the full Parrot SDK I thought I'd have a poke around the Sumo's Linux OS internals.
It turns out that the Sumo has yavta - aka "Yet Another V4L2 Test Application".
So, after telnetting to the Sumo on 192.168.2.1 I first needed to stop the Sumo process that was accessing the camera (disclaimer, this is the process that does "everything" that makes the Sumo work with your phone so you'll need to reboot to restore normal functionality):
kill `pidof dragon-prog`
Then I was able to take a snapshot using yavta:
yavta --capture=1 --file=/data/ftp/image.jpeg /dev/video0
To grab that image I simple FTP'd it from 192.168.2.1 - it's waiting in the root of the FTP file tree.
There's only one (not unsolvable, I hope) problem though - the frame wasn't fully captured so only the top couple of rows of pixels had valid data...
|
|
|
Inductive charging installation test 2
I've tidied up the install significantly and switched the RFID tag to be on top of the robot. Previously it was at the front (to be close to the detection coil) but that was obscuring the charging coil and camera. Doing it this way also allows me to play with the balancing mode of the Jumping Sumo.
The charging appears to be very slow though so the next step will be to push the charging coil completely flush to the box to get the closest possible coupling.
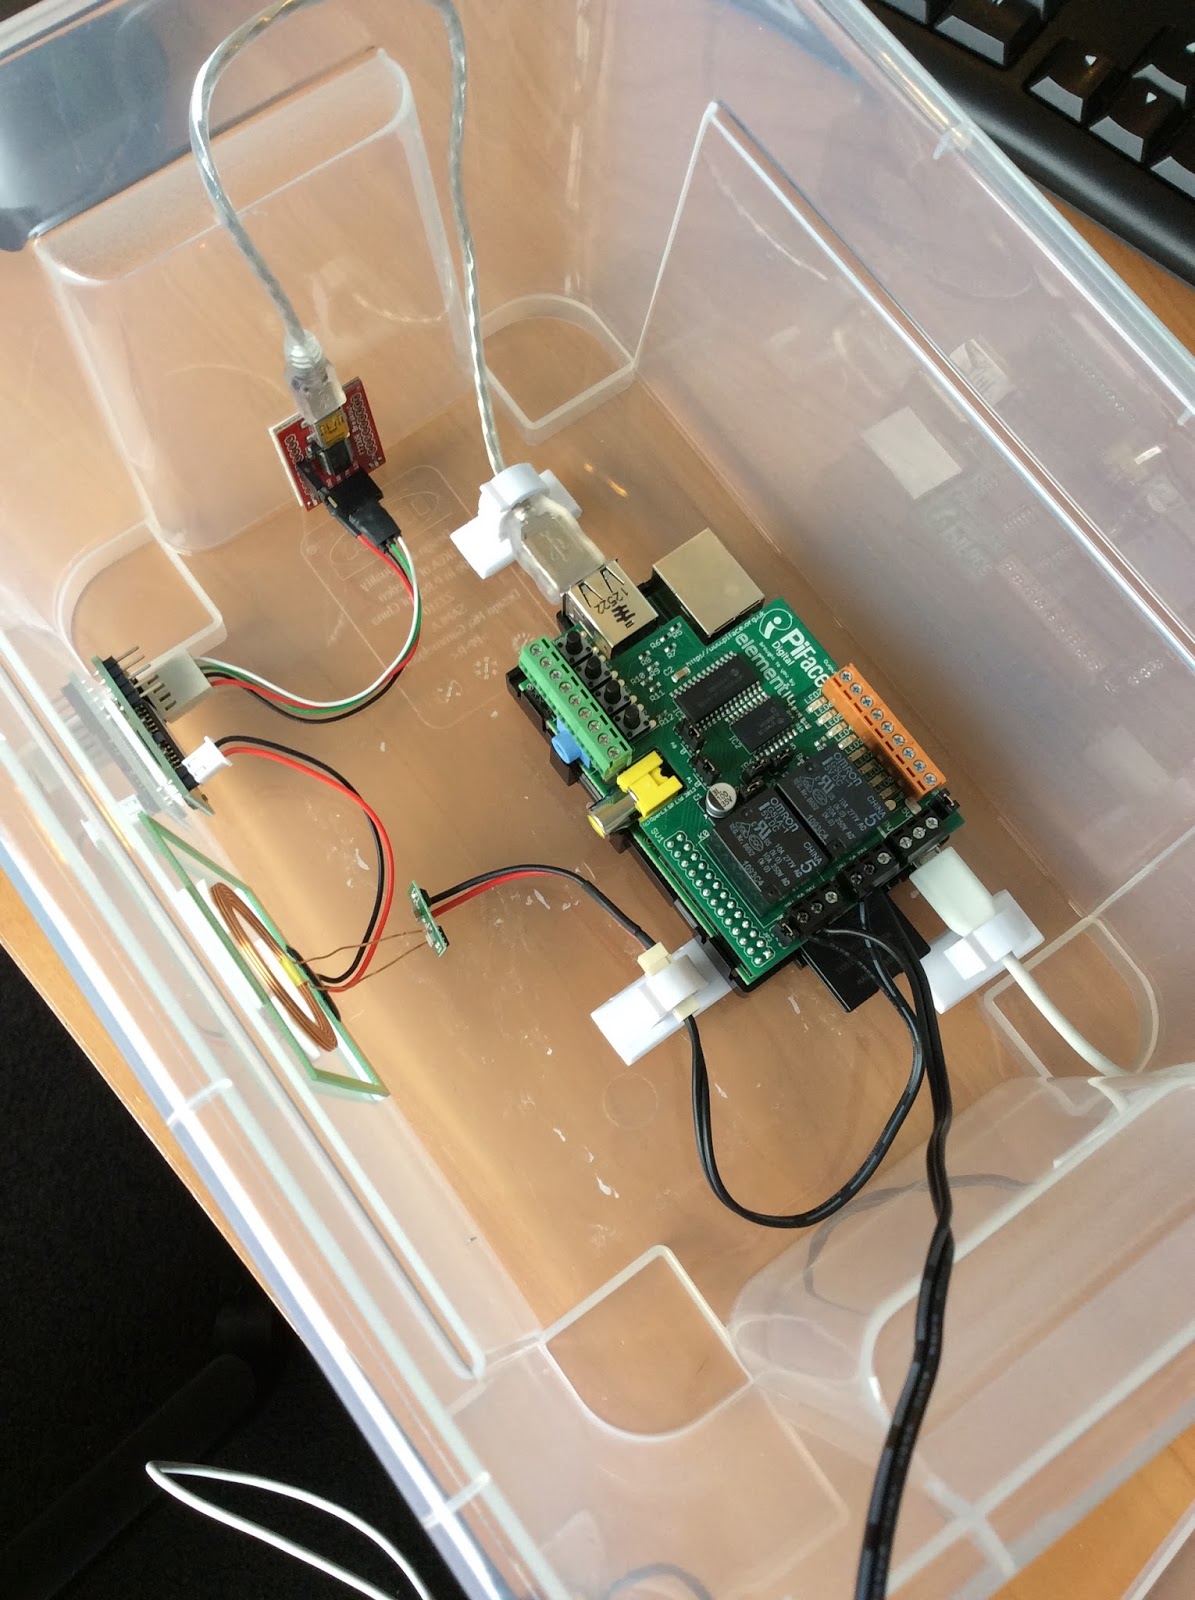
Here's a close-up of the neater install (I've since routed the power supplies through a cable gland):
[Instagram] Onboard heading in to charge
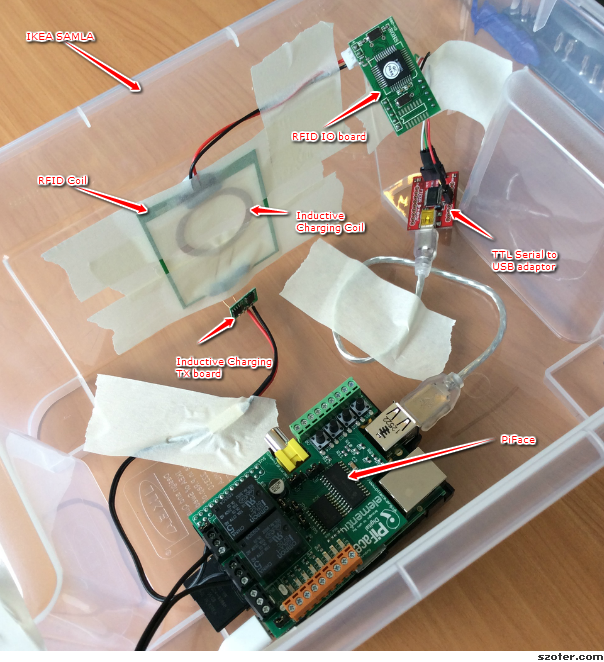
RFID-triggered inductive charging a Parrot Jumping Sumo
It works (tacky YouTube music and all)!
Obviously the IKEA box will be replaced with something a little more visually-appealing (and with less masking tape), but the basic RFID detection and charging enablement control loop works perfectly. The code for the Raspberry Pi is on GitHub .
These are the basic components so far: